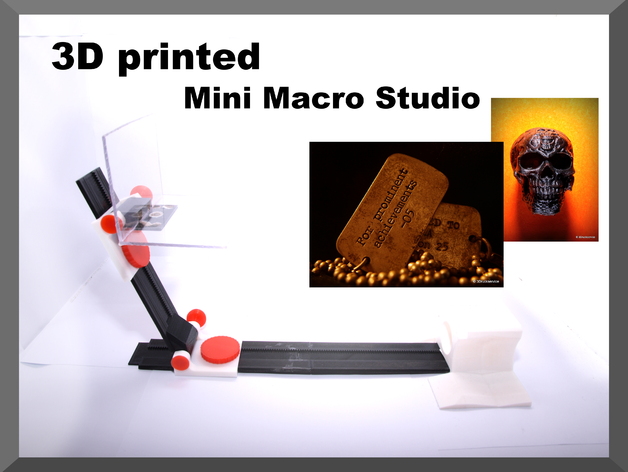
Cool little adjustable macro studio. Easy to print. If you like it, please vote for it on the instrucables contest! http://www.instructables.com/id/3D-printed-Mini-Macro-Studio If you like it, please vote for it on the instrucables contest! http://www.instructables.com/id/3D-printed-Mini-Macro-Studio/ Files to print: 2x Adjuster.stl 2x Bolt.stl 1x/2x Bottomtrail.stl 2x lockpin.stl 2x Slide.stl 2x Gear.stl 1x Mount.stl 1x Toptrail.stl 1x Stageholder.stl Print Stages as needed or remix them. I printed most parts with 0.15mm layer height and around 50-60mm/s. The red parts are printed with 0.1mm layer height and around 30mm/s. I also recommend to print the red parts all together, so you wont have any overheat problems. The bottom trails are need a small amount of support, but it shouldn't be a problem for any slicer. You can print one or two bottom trails. It depends on how big your camera is. If you got a normal SLR camera you probably will need two of them. You can print the clip.stl to slide the camera in the mount. If you print the clip you will have to find a screw that fits. If you already have a tripod for your camera you may be lucky and the clip from that tripod fits in the mini macro studio mount. When you have your parts printed you are ready to assemble everything. Since I tried to keep everything as simple as possible, you won't have much problems here. Use the knife or the rasp if parts don't fit correctly. The glue is only needed for the little gear under the slide. just place the little gear in one trail and push the slide over it until you center the gear in the hole. Then put some glue on it and push the adjuster in it. Note that there is a small notch, witch you have to hit! If you printed two bottom trails you also need to glue them. After gluing them make sure to put some pressure on it, so that the trails align flat and the slide will not get stuck there. The rest is pretty easy. You can tighten everything by pushing the lock pin in until the joint wont move. If you want the joint to move just pull and turn the lock pin out until it starts moving. This way you can basically adjust the strength you need to turn things on the mini macro studio! Stages With the stages you can get creative. You can basically hack this hack! There are already some stages I made for you. But there is also a DIY-stage (DIYstage.stl) that you can easily customize without the need of a 3D printer.