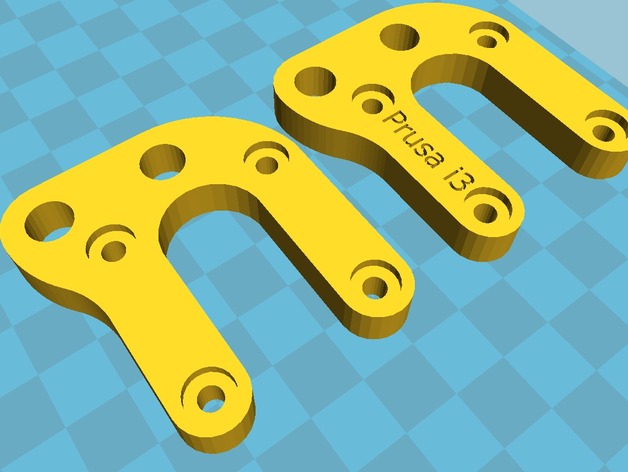
Why would you want all those straight angles on your Prusa? I don't like them either so I made my own Y bracket that has none of that! In addition the bracket has all 4 mounting screws for a motor, but does not have all sides enclosed meaning that the tension belt will move without a problem, unlike in most 4 screw motor brackets. [IMPORTANT - FIXED VERSION SOON] Please be aware that as some people pointed, some motors are too big to fit so closely to the the rods. I'm working on an updated version with more room, it should ready by monday. Thank you for your patianceTo install the bracket: 1) make sure your printer is not pluged in and then disconect your motor (if it has a a detachable cable) 2) Detach Y axis from rest of the printer. 3) Dissasamble the rear of the Y axis where the motor is, take of your old Y motor mount 4) Slide the new mount, pulling the two rear rods through 2 large holes in the mount, make sure that the small holes are above the bottom rod, secure in place with washers and nuts 5) Attach the motor by aligining the 4 small holes in the mount with 4 holes in the motor, make sure that tthe flat side is facing the motor and the side with larger cut outs is facing you, those are to hide the head of motor mounting screws. 6) Finish off by reassembling rest of your Y axis and ataching it back to the rest of the printer. 7) You are done, please leave a comment and a make, thanks!
- 0 inches x 0 inches x 0 inches
- this product is 3D printed
- 16 available colors
- material is a strong plastic
- free delivery by May 06
- 0 parts