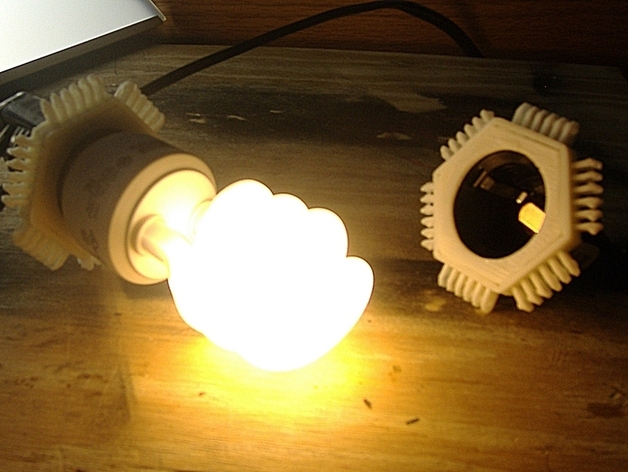
This is 3D printed bracket for an inexpensive light-bulb socket (see part list). The snaps and dimensions are compatible with the other objects I've tagged with "Elements" This thing is intended for use in a truncated-icosahedral lamp, once I find some affordable low wattage CFLs.I designed the part by minor modification to the circular elements OpenSCAD script : http://www.thingiverse.com/thing:5859.Print both parts. Trim the extra plastic off the hinges.Test fit with the bulb socket. The socket should rest tightly in the piece, flush with the inner surface. If the socket is raised, the bracket hole is probably too tight. Trim away plastic until the bulb socket can rest flush in the bracket.Glue ( I used gorilla super-glue ) the socket into the larger bracket. Glue the hexagonal plate over the socket, making sure to affix the plate to both the bulb socket and the printed bracket. Let dry. Assemble creatively with other compatible parts.The sockets have a simple way of clamping onto electrical wire. The part specifies 12 to 14 gauge wire, but I used 16 gauge since that's what was available. Once your object is assembled, you can wire and power it up ( but be careful with 110AC ).A few pitfalls I've noticed : The snaps, individually, are weak. The snaps, as a whole, are ridiculously strong -- stronger than the super-glue. It is really important that the socket be flush in the main bracket so that the hexagonal plate makes full contact with both the socket and the bracket : this is a big source of structural integrity.I would be shy of using high-wattage bulbs in these sockets, since ABS softens at a mere 100C and PLA even colder than that.note on hinge clearance : The hinges can sometimes be a little tight. Make sure the first layer isn't pressed too far into the build platform. A compressed first layer will propagate up and make part of the hinge wider, decreasing the clearance. These parts are designed to fit tightly and may require pliers to assemble. If all else fails, removing some of the pins on the hinges can make assembly easier.