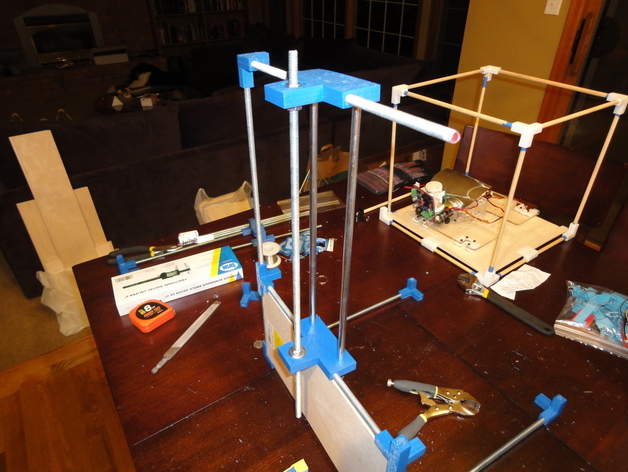
In nature, there are roughly two different types of structural support systems in most animals. They are either endoskeletal, or exoskeletal. I think this is also true of our various machines, and it's playing out in DIY 3D printers.The Mendel represents en endoskelton. You can imagine putting a skin around it, but largely everything hangs off the 'bones'.The MakerBot is more of an exoskeleton (at least my cupcake is). The panels are what everything attaches to. Without the panels, you don't have a bot.This thing is a linear slide system that attaches to an endoskeleton. Similar to the various Z-Riders that are attaching themselves to the MakerBot exoskeleton. Since it is matched to an endoskeleton, there is no "impedance mismatch" of the design, so there are much fewer pieces.It's a work in progress. I'm waiting on a couple of bushings to complete the carriage. Then I can attach cantilever arms, or whatever.I thought I'd put it up as it may give others some more ideas along these lines.1) Figure out the design of an EndoBot 2) Pick a position for your linear slide (typically for a Z-Axis) 3) Print two copies of the endbracket 4) Force fit a 608 bearing into the large holes 5) Cut your various threaded and smooth rods to their proper lengths for your endobot (the rod holding holes are 7.88mm deep. Don't forget this! 6) Assemble everything on your EndoBot 7) Rejoice!The .stl files are for 5/16" smooth and threaded rod. In a few more iterations, I'll upload the .scad file as well for modification.
- 0 inches x 0 inches x 0 inches
- this product is 3D printed
- 16 available colors
- material is a strong plastic
- free delivery by Sep 09
- 0 parts