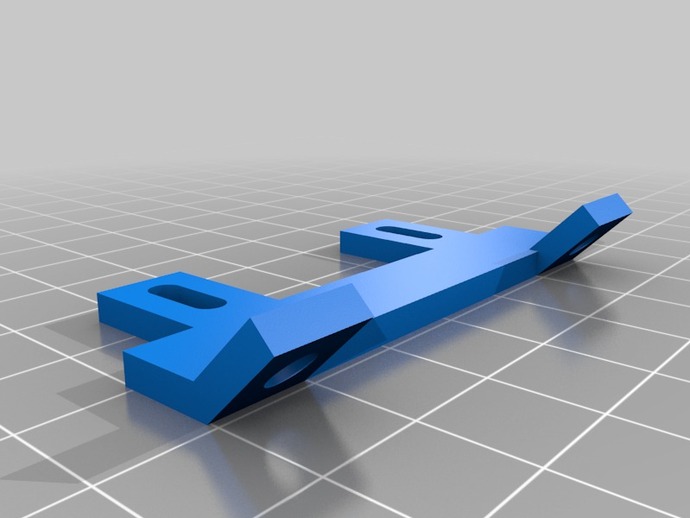
I needed a quick way to mount a 60 mm fan to my x-carriage, to later print a proper fan duct. This is what I came up with.Make sure to use cooling if printing in PLA, the angled tabs need it.Print, mount to carriage, mount fan on top of the angled tabs (it may hit the surface if mounted to the bottom of the tabs).Mounting hardware needed: 2 x M4 screws + nuts (and washers)Notes: The carriage end is designed to mount onto the existing screws of the belt clamps.Update: made the default twice as thick and the body smaller to make it sturdier.I put grooves on the carriage tabs since I didn't know exactly what distance from the hot end i wanted the fan.The base is longer than necessary as configured, it sticks out quite far, you may want to adjust before printing. The script is almost fully parametric, but I've only tested it with 60 mm fan, you may need to adapt the script slightly for other sizes/tab spacings. There's a few hard coded numbers that should really be variables, but I'm not sure I'm goin to bother...
- 0 inches x 0 inches x 0 inches
- this product is 3D printed
- 16 available colors
- material is a strong plastic
- free delivery by Mar 09
- 0 parts