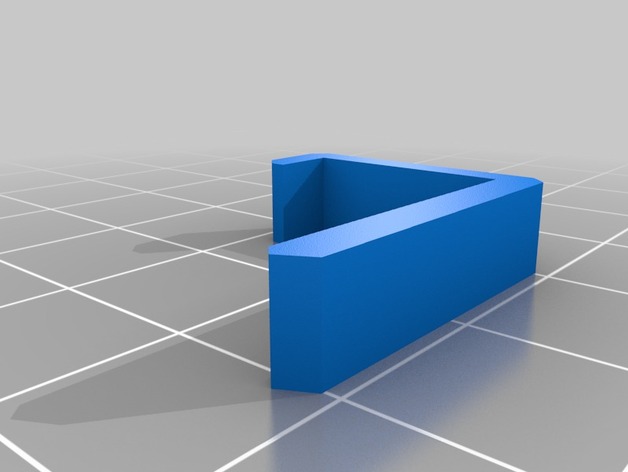
Not too fancy, I stretched the clip file that 3Derp provided with his original design -- this allows for face mounting the clip, which I found easier to fit in the print. Not taking credit for anything, but I added some notes on the build in the instructions tab. After making 3 of these I wanted to share my experiences.Followed 3Derp's photo gallery for most of these -- here are my suggestions (I plan to upload a start-to-finish guide to building one of these including the retropie setup if 3Derp is ok with it, but for now some quick tips): Configure the raspberry pi before you try to hook up any of this. I'm sure if there was video of me trying to run scripts on the little screen it would be hilarious to the linux-nerd crowd. You can plug a standard TV RCA out into the pi and use your flatscreen for config. The joystick sketches at the Teensy website have a bunch of code that will slow down your controls. The basic sketch has the controls reversed (always on until pressed). If you want the sketch I used let me know and I'll upload it. http://www.radioshack.com/product/index.jsp?productId=2102488 http://www.radioshack.com/product/index.jsp?productId=2102599 https://www.sparkfun.com/products/102 https://www.sparkfun.com/products/10302 http://www.amazon.com/Edimax-EW-7811Un-Wireless-Adapter-Wizard/dp/B003MTTJOY I had the easiest time when I networked the pi in prior to running any of the retropie scripts. For newbies (and I am one): hit F4 to exit emulation station type 'startx' plug your USB mouse in, and go to the place on the homescreen where the windows 'start' button would be, then click it -- go to Internet and then start wpa_gui -- scan for your network and then enter the password, tab 3X (your window may be bigger than the screen and you can't resize it) and hit enter. You should then grab an IP and you are good! I haven't left one in the pi when I put the portaberry together, but there is no reason why you couldn't, then just use WinSCP to connect and upload whatever you want. So you don't go crazy - the raspberry pi is a product of the mighty UK, which has great beer but their keyboards are different (the # and the | keys are nowhere I could find). the retropie setup scripts sometimes error out before you can reset this. To get to the config tool enter (from the command line): sudo dpkg-reconfigure keyboard-configuration choose your keyboard and default (US) English (scroll up to find it). I printed the case top and base and the battery well at 0.2 mm with a 20% fill. all the face plates and covers I printed at 0.1 mm at 70% fill. Rather than use superglue I used hotglue -- messy if you aren't careful, but my beta testers were 9 and 10 so I needed burly construction. My plan is to modify the case to eliminate most of the faceplates. I will post these here. If you are building one of these and run into problems send me a note as I have been through it a few times now. Things to note: I am using a 32GB SD card as I have about 7,000 roms. ES_Scraper took 4 days to run (!!) and slowed everything down so much I ended up re-flashing the card and starting over. I am currently planning to use the MameGenXml perl script http://webspace.lenscritic.com/mame/ to get the rom names converted to game names in emulationstation. Sound is an issue (crackly and static), and I am trying to resolve it. Overclocking the pi led to it locking up even with an added heat sink.

