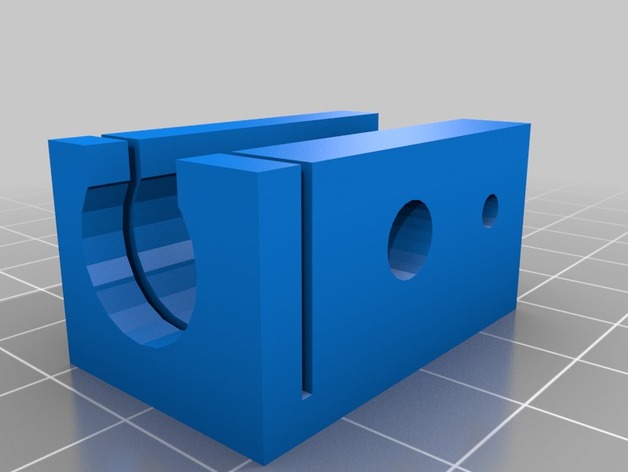
I designed a hotend you can make from a template. Print out the template, wrap it around a metal rod, and drill anywhere you see a hole. The design uses a bowden cable as an isolator, so only the metal part requires drilling. Detailed instructions can be found here. I've been using the hotend for maybe two weeks now and it still works great. The small width of the bowden cable means there's less thermal conductance, so it makes a good isolator. I don't use a fan, and I still thermal creep is not an issue. I did notice it works better though if the bowden cable is cold when you screw it in - when it heats up, the teflon expands faster than the metal, so inserting it cold will make a firm grip when the nozzle is hot, resulting in fewer leaks. Download and print "hotend_template.stl". Wrap the print out around a 1/2" metal rod. I prefer aluminum - it's cheap, easy to drill, and it conducts heat well. Drill anywhere you see a hole. You'll want the finished piece to match the diagram, below. The size of your drill bit should roughly fit the size of the hole. Check the table for recommended sizes. Pay close attention when you drill the hole for the bowden cable - you don't want to drill clean through the metal. Just drill far enough that you can easily drill the rest of the way with the tiny bit you use for your nozzle. I mark my drill bits with some tape to indicate how far I should go. The aluminum will start to deform right before you hit the other side, which will serve as a warning for you. Once you're done drilling, take a hacksaw and cut off your piece from the metal rod. There's a groove in the template that's meant for this purpose. Use an M4 (8-32) tap to ream some threads into the holes you drilled on the top side of the piece. This will leave some metal shavings inside your nozzle, and these will cause nozzle clogs if you do not remove them. I screw a bowden cable in and out a few times until I'm sure I've removed all the shavings. A more thorough method might be to plunge some PLA in and out of the nozzle until clean. You can optionally file down the bottom sides to ensure the nozzle tip is the only part that makes contact with the bed, though I've heard some people say this isn't necessary. Insert the heat resistor and thermistor. Secure the heat resistor with an M4 screw, making sure not to damage the resistor. Drill a 3mm (1/8") hole into your plastic hotend mount and use a long M4 screw to attach the hotend to its mount. A second M4 screw can be used for additional support, however I did not use this second screw in the prototype, shown above.
- 0 inches x 0 inches x 0 inches
- this product is 3D printed
- 16 available colors
- material is a strong plastic
- free delivery by May 05
- 0 parts