This is a modification of the MakerScanner v0.3 scanner for the BDL220S Black & Decker Laser Line Level with Wall Mount.http://www.blackanddecker.com/power-tools/BDL220S.aspxIt\'s designed to use the wall mount\'s existing magnetic rotational bearing. I chose this as it was one of the cheapest laser line levels at my local hardware store (this is carried at Lowe\'s and Ace Hardware as far as I could tell online) Because of the integration of the wall mount, you get a very solid, very smoothly rotating scanner.The BDL220S base unit is removeable for transport and use as intended. If you\'d like to still be able to use the wall mount, Black and Decker sells extra base units from their parts replacement center: http://www.blackanddeckerservicenet.com/Products/PartDetails.aspx?partid=242704I haven\'t finished my makerscanner yet - my hot end clogged trying to print some of the other pieces and I haven\'t quite dialed in my replacement (makergear .35 bighead) yet... I\'ll update the instructions with any other information when I fix it. The center line and pivot of the laser should be right on and true using this method (as opposed to the more fallible laser module clamp - you really want the laser and the pivot point lined up for accuracy), but as I haven\'t used it yet, your mileage may vary...Lightly sand the inside of the tab cutouts until the wall mount fits snugly. Make sure the center pivot of the wall mount is pointing down when you press fit the two together. I didn\'t have to use any glue - just a little persuasion (the name of my rubber mallet) and those two pieces are firmly and solidly interconnected.I had to reverse the center alignment slot, but orientation isn\'t crucial. Print a laser mount base from the MakerScanner 0.3 and line the top up with the base. If you prefer, you can drill out the channel on the two pieces and use a 3mm steel rod to guarantee alignment. As orientation isn\'t critical (and at this point you can still turn the angle measurement dial), I just eyeballed straight down the channel, got the alignment good enough and applied some superglue around the edge of the seam while applying light pressure for 5-10 minutes.Your makerscanner will be functional without the following alteration, but if you\'re a trig or surveying geek, this simple mod will allow you to use it as a surveying tool as well.If you want the angle measurement to be accurate, once assembled you can use a drop of superglue to fix the wheel in place with respect to the base. I recommend using the makerscanner software against a flat target like a wall. Line up the center of the level, measuring the distance with the software. Then, it\'s a matter of trigonometry to figure out what that angle should be. The formula is angle = atan(y/x) where y is the measured wall distance and x is the distance from the line level to the camera - when I finish printing my MakerScanner, I\'ll perform this calibration and update the instructions with the specific formula.Set the angle dial at the calibrated formula and use a drop of superglue to fix it to the base.
- 0 inches x 0 inches x 0 inches
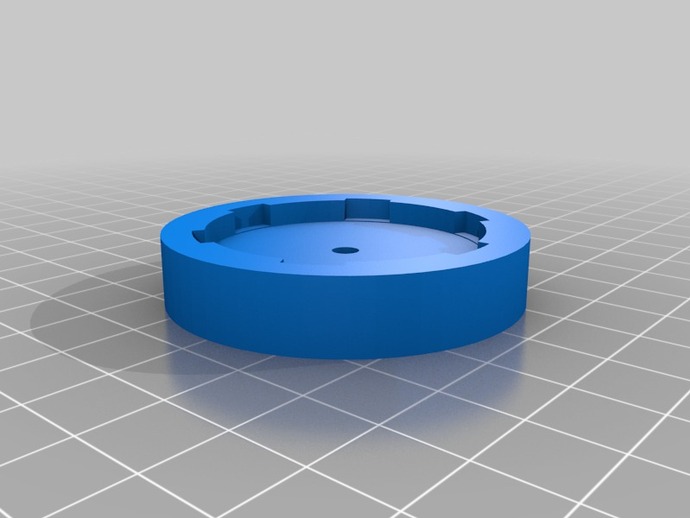
- this product is 3D printed
- 16 available colors
- material is a strong plastic
- free delivery by May 02
- 0 parts