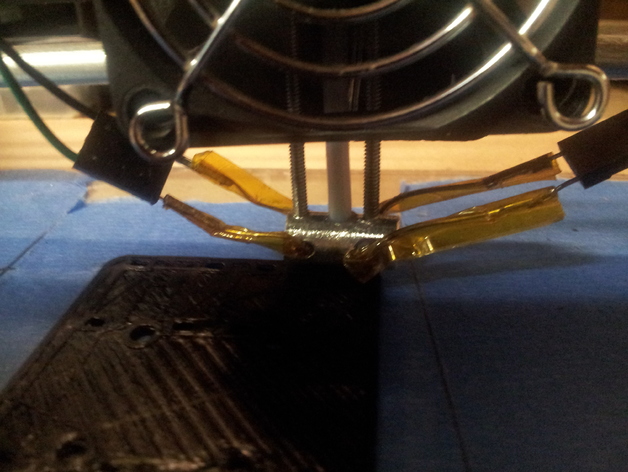
I made a hotend you can drill from a template. Print out the template, wrap it around a metal rod, and drill where you see the holes. The design uses a Bowden cable as an isolator, so only the metal part requires drilling. Detailed instructions can be found here. Adapters are available for a number of mounting styles and printer models. Where possible, adapters are designed with optional fan mounts, which are highly recommended. An all metal variant is also available - more information is provided in the instructions. Version 3 of the hotend returns to the monolithic design of version 1. Version 2 offered a number of improvements to the ease manufacture, however I found the lifetime of the nozzle to be significantly reduced. Version 3 sees an overall reduction to component size. This offers a number of benefits. Smaller rods are cheaper to purchase and easier to machine. Smaller screws conduct less heat, making them less likely to melt the plastic that supports them. A smaller hotend overall has a smaller melt zone and is quicker to heat. Download and print "heatblock.stl". Wrap the print out around a 3/8" (9mm) metal rod. I recommend filing down the sides of your rod before you do so - it helps when drilling your holes, but it isn't strictly necessary. I prefer aluminum - it's cheap, easy to drill, and it conducts heat well. Drill anywhere you see a hole. You'll want the finished piece to match the diagram, below. The size of your drill bit should roughly fit the size of the hole. When drilling the heat resistor, start by drilling a 1/8" (M3) guidehole, then finish off with a 13/64" (M5). For other holes, check the table for recommended bit sizes. Using a tap, cut the threads into the holes that run through the top of the heat block. Again, check the table above for recommended tap sizes. Now, take a hacksaw and cut off your piece from the metal rod. There's a groove in the template that's meant for this purpose. File down the sides at the bottom of the nozzle. Drill a small (0.1-1mm) hole through the tip of the nozzle. A dremel works best for large (>0.8mm) nozzles. Smaller nozzles may require a jeweler's drill. Screw the Bowden cable onto the heatblock. Insert the heat resistor, thermistor, and Bowden cable. The Bowden cable should go all the way through the heat block and leave a few millimeters available on the other end. This will provide something with which we can attach the acorn nut. How you mount your hotend will depend on your setup. Printable adapters are provided for Jhead, Prusa i3, and Huxley style mounts. Print out whichever is most appropriate and attach it to the heat block using two long (>50mm) M3 (4-40) screws or threaded rods. I prefer stainless steel threaded rod due to its length and low thermal conductivity. These screws will also serve to secure the electronic components you inserted from earlier. the teflon tubing you installed earlier should pass through the center of the adapter and hook up with the bowden cable coupler (not shown in image below). This will allow you to easily attach and detach your hotend to the bowden cable.
- 0 inches x 0 inches x 0 inches
- this product is 3D printed
- 16 available colors
- material is a strong plastic
- free delivery by May 06
- 0 parts

