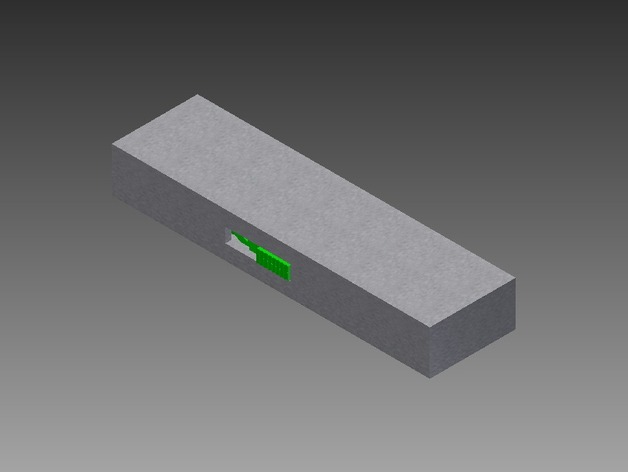
This is my first Thing on here, some assembly is required after printing. Note that some of the parts here must be printed once, some parts you will need 2 of, and some parts will need to be printed 4 times. You will also need two long tension springs to drive the main mechanism, and you will need 4 small springs to drive the locking mechanism. I am still testing this Thing to see what springs work best for it, and I will update this description when I figure it out. DISCLAIMER: If you make this Thing, I accept no responsibility for your actions, or any damages caused, incurred, or sustained by this Thing. Check local laws and regulations prior to making this Thing, and don't be stupid.Step 1: Printing This is how many of each part you will need to print: -> 1 x KnifeBladeMKI -> 2 x BladeCatchMKI -> 2 x BladeInteriorRailMKI -> 2 x ExteriorCaseMKI -> 2 x InteriorSlideMKI -> 4 x BladePlugMKI -> 4 x InteriorSlideLockMKI Step 2: Assembly Assemble the blade section by using the Blade Plugs (4 of them) to secure one of the Blade Interior Rails (2 of these) to each side of the Knife Blade (1 of these) . Next, assembly the internal slide mechanism by matching up the holes and pegs on the thumb switch of the Interior Slide part (you will need 2 of these). Place the Blade Catches (2 of these) inside of the Exterior case at each end, with the smaller openings of the Blade Catches facing away from each other. Place the assembled Interior Slide section in between the Blade Catches. Note that you must stretch a tension spring from the knobs of the blade catches, and over the Internal Slide so that the Blade Catches are in constant tension. See these videos for further details: https://www.youtube.com/watch?v=0XMpIJ5AspU https://www.youtube.com/watch?v=vndAU9uCwgA Step 3: Blade Locks Attach some kind of small spring to each Interior Slide Lock part (you will need 4 of these), and insert each Interior Slide Lock into the 4 areas on the Exterior case. Step 4: Finishing Touches Attach the other Exterior Case part to the assembled Thing. Test this Thing, making sure that the Thing is not pointed at anything it could possibly damage. Be safe, have fun, don't be stupid.
- 0 inches x 0 inches x 0 inches
- this product is 3D printed
- 16 available colors
- material is a strong plastic
- free delivery by May 02
- 0 parts