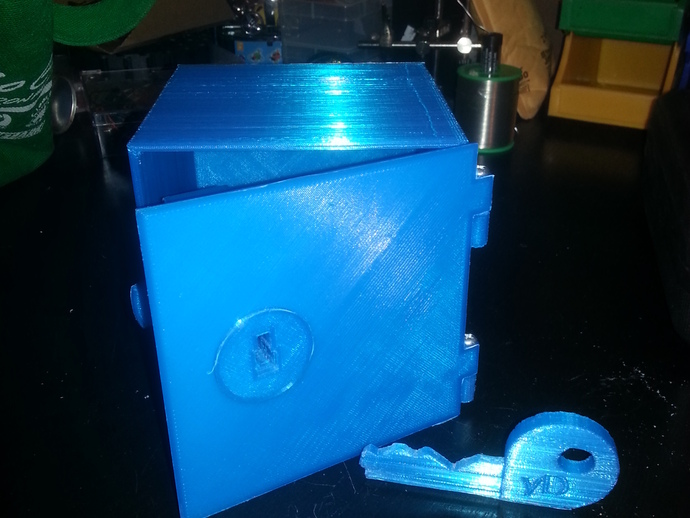
This is a toy safe that I designed for my nephew Derek. Seeing as young Derek is a bit of an escape artist, I thought that he might enjoy learning how locks work, so this safe comes with a working lock, and lockpicks designed to work with this safe (so that he can apply his new knowledge of lock mechanisms). Note: there is a second set of pins available for download, with 8mm diameter. These may require some sanding down to get close tolerance in the holes. I added these because the original 7mm diameter pins sometimes skewed and jammed in the tumbler. Admittedly, there is some room for improvement, but considering it's a prototype, it works really well. My first print was easy to assemble, and the key opened the lock. what more can you ask for? additional parts required: 3 springs (from clicky ball point pens; some superglue/epoxy glue; two 4mmx50mm bolts & nuts (other solutions possible, see instructions) I've included the Solidworks files, so that you can view the assembly, and customise the pins and keysPrint one of everything (see list below, and note regarding pin diameters): -pick -tensioner -pin lid -lock plate -key -pin_base_3mm -pin_base_5mm -pin_base_7mm -PINHEAD-_7mm -PINHEAD-_5mm -PINHEAD-_3mm -case -door align the door and case, and insert the bolts into the hinges. Note: I only had 40mm long bolts available, so I inserted them, then glued the tail of the bolt into the lower half of the hinge. you could also insert a piece of dowel and glue one end. Remove the springs from 3 pens (note: the lock can work on gravity, as long as the pins slide well, but I think the springs help a lot). Insert the tumbler into the door. Insert the pins into the door/tumbler, then the pin bases. Note: you may choose to only insert one or two pins. Putting less pins in makes it easier for the key to insert and retract, and easier for the child to pick the lock, so you can adjust the difficulty setting. Note 2: to determine which pin head and pin base is to go in which hole, look at the length of the pin head. the deeper the groove in the corresponding position on the key, the longer the pin head. the longer the pin head, the shorter the shaft on the pin base. Note 3: I used a dremmel to sand the sides of the 8mm pins (as well as the inside of the holes), to get them smooth and fitting snuggly in the holes, but still sliding well. Put the springs into the door (one per hole above the pins), then slide the Pin Lid into place above the pins, compressing the springs one at a time, as you cover them with the lid. test that the key works in the lock. note: I used a dremmel to smooth off the rough edges of the lock, as well as the faces of the key teeth that come in contact with the pins, to make it slide easier. if the head of the key is at too great an angle for the first pin to slide up, just use a dremmel to put a more gentle slope on it) 9 Give the safe to a child, to keep their prized possessions in, and to teach them a lesson about how the mechanics of a lock operate.